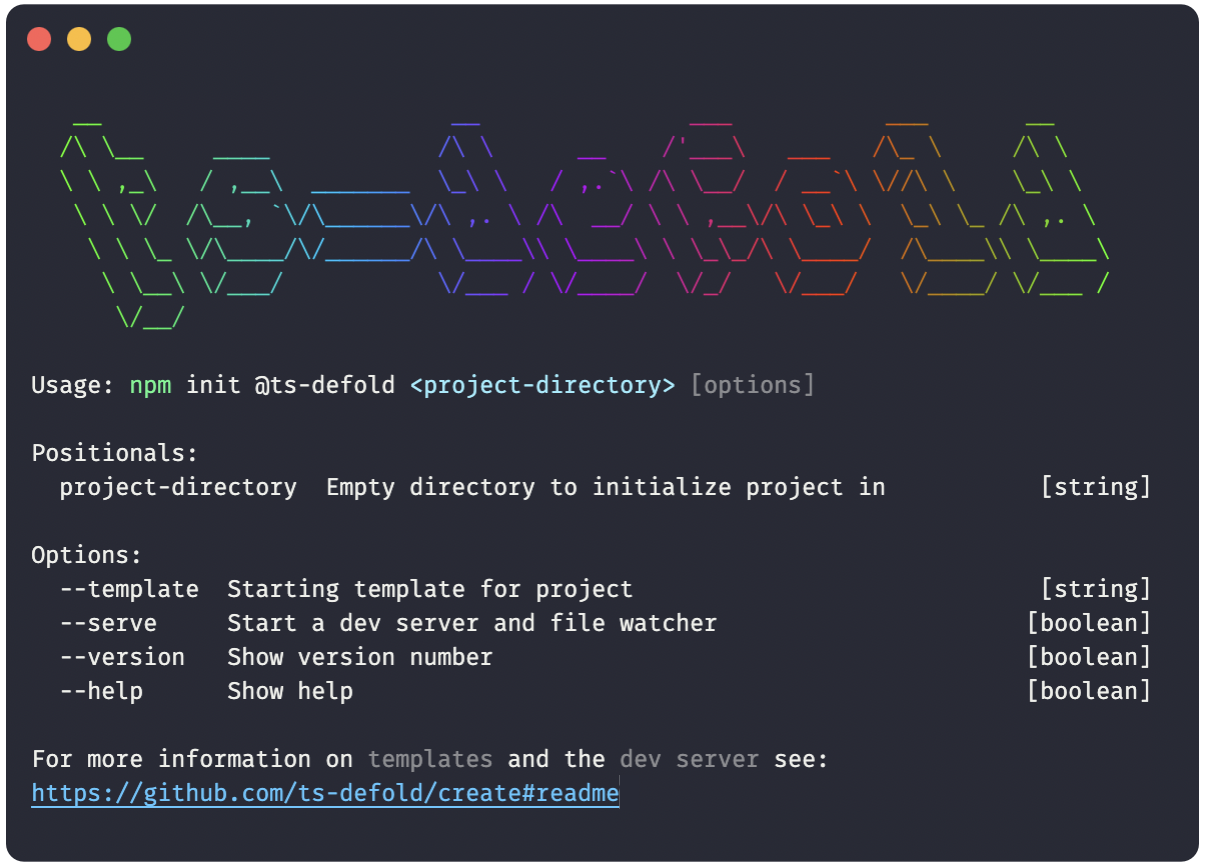
Project Generator
Last update: a minute ago by Nathan BoltonReading time: 2 min

npm init @ts-defold ./project-name
Requirements 🏷️
- NodeJS version v14.16.0 or higher
- npm
Guide 📖
Project Structure
@ts-defold/create templates follow this common directory structure
├─ .prettierrc.json # Configuration for prettier code formatting├─ eslint.config.mjs # Eslint configured to handle the caveats of TSTL & ts-defold├─ package.json # NPM package dependencies and metadata├─ tsconfig.json # TypeScript compiler configuration for TSTL & ts-defold│├─ .github/ # Github workflows and automation [optional]├─ .vscode/ # Settings, extensions, and tasks for Visual Studio Code├─ @types/ # Type definitions for your project and native extensions│├─ app/ # The Defold game project│ ├─ lualib_bundle.lua # TypeScript support library│ ├─ modules/ # Transpiled shared lua modules│ ├─ scripts/ # Transpiled Defold game scripts (lua)│├─ src/ # TypeScript src files [edit these]│ ├─ modules/ # Shared modules│ ├─ scripts/ # Defold game scripts
@ts-defold/create init
Initialize a new ts-defold app at the specified path. This command will use the tsd-template to initialize the project by default.
npm init @ts-defold [path] [--template] [template-name]
path - path where the new project will be initialized. This should be either a new or empty directory when creating a project.
--template - The template to use to initialize the project with. The template-name refers to the shortname of a template that is hosted on Github. i.e. tsd-template-war-battles -> war-battles
Steps the CLI Takes
@ts-defold/create is a helper to automate the steps needed when starting a new ts-defold project. These steps can be done manually as well if you prefer to fork a template and go from there.
- Create a new project directory
- Download a template archive from Github
- Extract the archive
- Clone or fork if you prefer
- Update the package.json with your unique project info
- Run
npm cito initialize the project using exact versions- *
npm installalso works 😉
- *